“Beyond Borders” was the Convention Theme for 2023
I just returned from Phoenix, Arizona, my hometown, where I attended the 51st Annual National Flute Association (NFA) Convention. It was inspiring!! I kept thinking to myself, “I can’t wait to go home and practice.” It was fun to see old flute friends, hear extremely talented performers, talk with other teachers, and attend masterclasses and recitals all day and all night long.
I also came away with so many fantastic ideas to incorporate into my teaching studio. I took pages and pages of notes. For today, here are 10 gems I want to share, not in any particular order:
Where do your head and your heart combine?
Stand tall so you don’t collapse the air space.
Once you start living the music, accept it and there won’t be time or space to be anxious.
Be in the moment.
Always strive for a good tone.
Don’t second guess yourself.
Have the conviction that you are sharing the best you have at that moment in time on the stage.
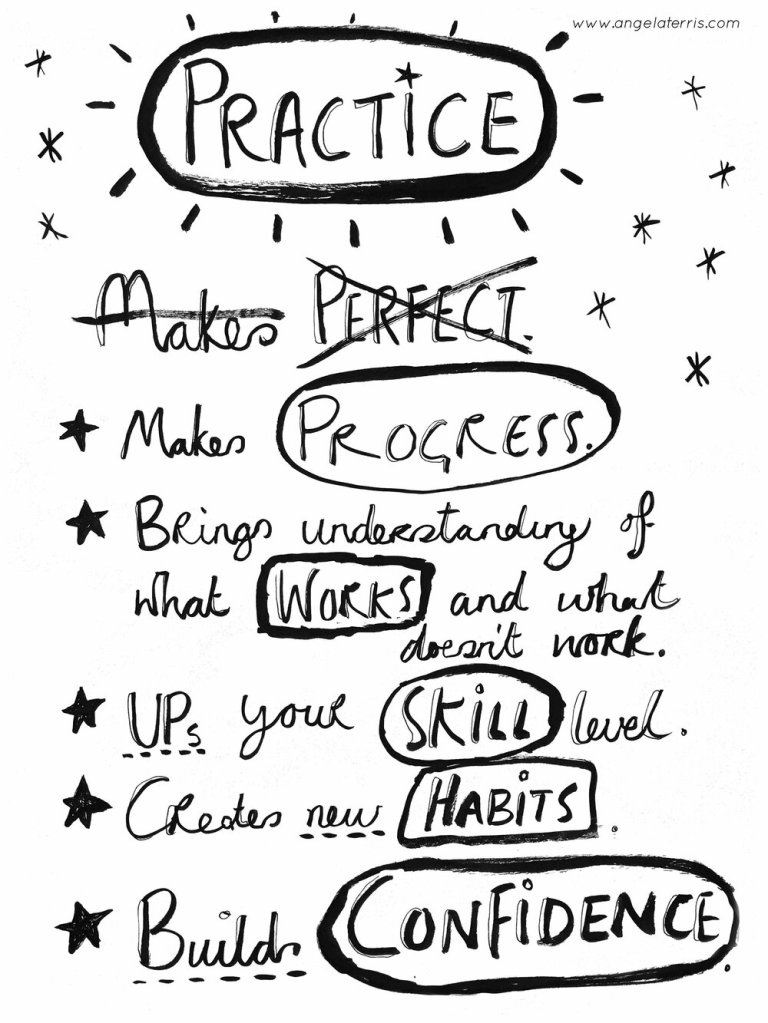
Perfectionism is a terrible disease. I suffer from it as I know many others do. Especially as a flute player or musician or artist, perfectionism can be helpful or it can be detrimental. Yes, we should always strive to have all the correct notes, correct rhythms, correct dynamics, breaths, style, interpretation, vibrato, tone colors, phrasing, etc.
Can you see why perfectionism is an ongoing struggle?
In music and in sports, you often hear the phrase Practice makes Perfect. I prefer to use the phrase Practice makes Progress. Here I thought I was so brilliant in coming up with this, but when searching for a photo to use, I found that I wasn’t as brilliant as I thought I was – haha.
The picture above says it all. If you don’t practice, you can’t expect progress.
Practicing is a developmental process to learn what methods are helpful to you. As a teacher I can attest that every student is different. What works for some doesn’t always work for others. That’s one of the things that makes teaching so fun. Finding and creating new ways to affectively teach each music student.
If you want to become a better flute player – or better at anything for that matter – you have to spend time working on that skill.
The more you practice, the better your flute playing habits will be whether those are good habits or bad habits. Hence the need for a private flute teacher to ensure you are practicing good habits.
The more you practice, the more confidence you can achieve with your tone, scales, songs and flute playing. It’s fun to really know a piece well and be confident with it, especially when preparing for a performance. That is impossible to achieve unless you are practicing smart. (That will be another post for another day.)
The main point is this: If you expect to improve as a flute player or anything else in life, you should practice consistently and regularly. That’s all there is to it.
I shared how to clean your flute in a blogpost dated April 5, 2023. How often should you have your flute cleaned professionally?
Many recommend taking your flute in once a year for a COA, which stands for Clean-Oil-Adjust. Basically, it’s just what it sounds like.
Clean: Your flute is disassembled and the headjoint, body, footjoint, and keys will be cleaned thoroughly.
Oil: The rods, screws and hinge tubes will be cleaned and have new oil put on them.
Adjust: The headjoint cork can dry out and shrink over time so it will be replaced. They change or shim pads, check and replace felts or other bumpers, if needed. Your flute is reassembled and the key motion is checked to ensure that everything is working properly. Finally, it gets a playing test and then any final adjustments to pads or screws will be made.
If you want to know more, you can find YouTube videos that show you how this is done. Do NOT try this at home! Leave it to a professional flute repairman. Please remember to NEVER use a silver polishing cloth.
If you have an old flute from “aunt so-and-so” or “grandma’s old flute” and it’s been sitting in a closet for a while, it will definitely need to be looked at by a professional technician to make sure it is in good working condition before starting flute lessons or band.
After your instrument has had a tune up, the most important thing is to take good care of your flute on a regular, daily basis. A properly working flute is a happy flute which makes for a happier flute player.
Congratulations to my graduating senior flute student this year who was accepted into the Brigham Young University music program! That is a tremendous accomplishment!!
Congratulations also goes out to two of my students for earning gold cups from the National Federation of Music Clubs. One student earned a 15 point gold cup in the flute solo event and the other student earned a 30 point gold cup for the combined flute/concerto event. That represents years of hard work and memorizing music. Way to go!
Spring is in the air. Well, it’s supposed to be. We’ve had a long winter, keep breaking snow records and have 6 inches of fresh snow today. But it is nice to know that the plants are thinking about starting to bud and gives me hope that we’ll soon see some colors returning to brighten this part of our world.
This week is Spring Break. Time for vacations, time to be outdoors (if it would stop snowing), and time for spring cleaning. I’m not going to post anything about cleaning your house or your garage because there are a million things on the internet to help with that. But how about cleaning your flute?
Again, there are lots of resources out there and I don’t agree with all of them, but I want to add my two cents worth, not that you can buy anthing for two cents anymore, but you get to have my free advice. How’s that?
The most important thing is that you clean your flute regularly. What is regularly? Each time you play.
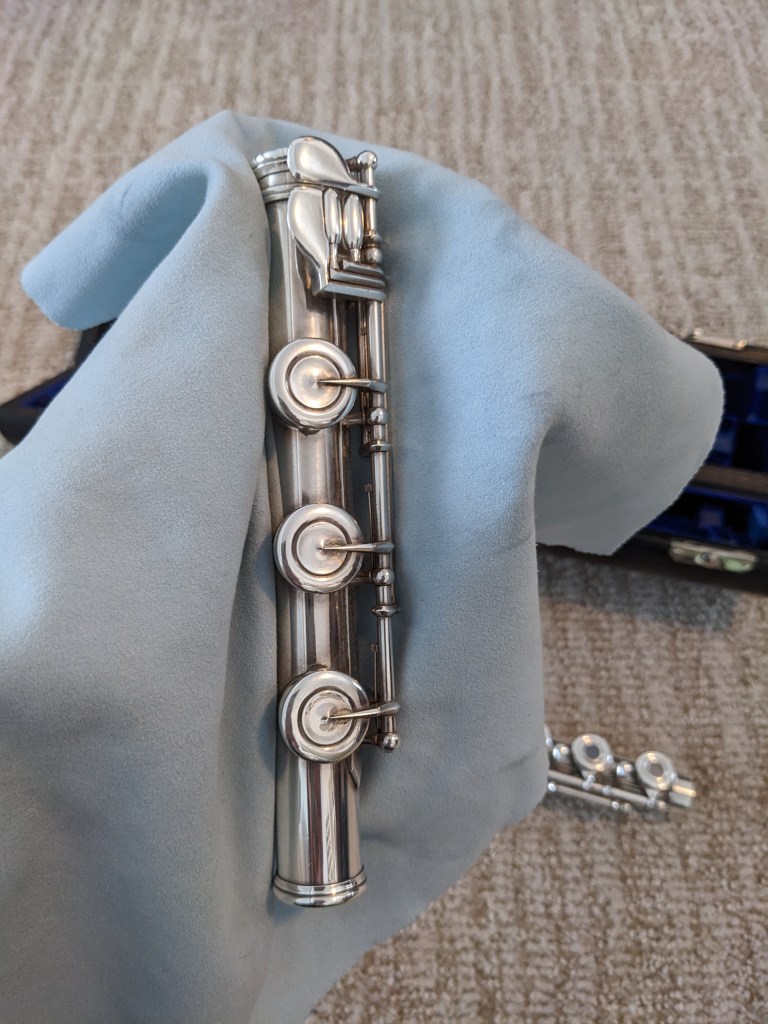
A picture -or a slideshow- is worth a thousand words.
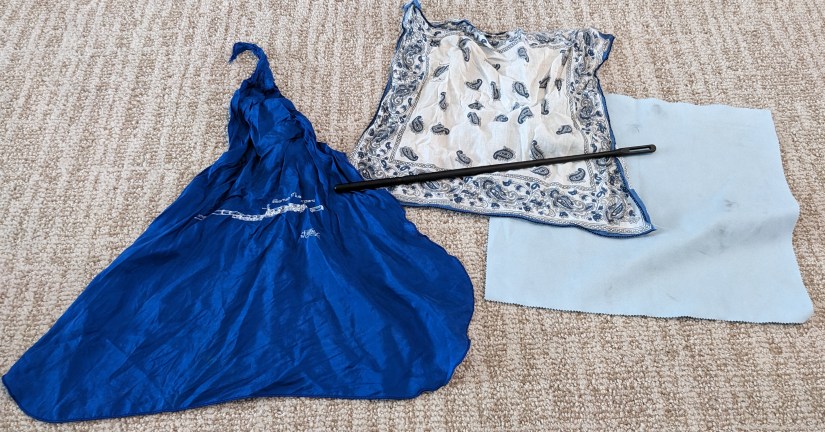
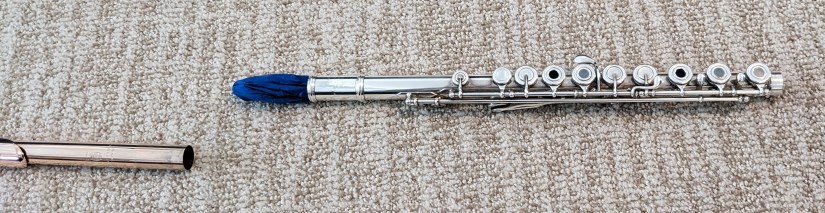
Supplies: You need a cleaning rod, a cloth for the inside, and a different cloth for the outside.
Cleaning rods: I prefer wood or plastic. I used to have a metal one when I was young, but it can scratch your flute, so I recommend a wooden or plastic one. Make sure it’s good and sturdy. Sometimes you can buy cheap ones online, but beware, they can be flimsy. Make sure it’s good and solid and won’t easily bend.
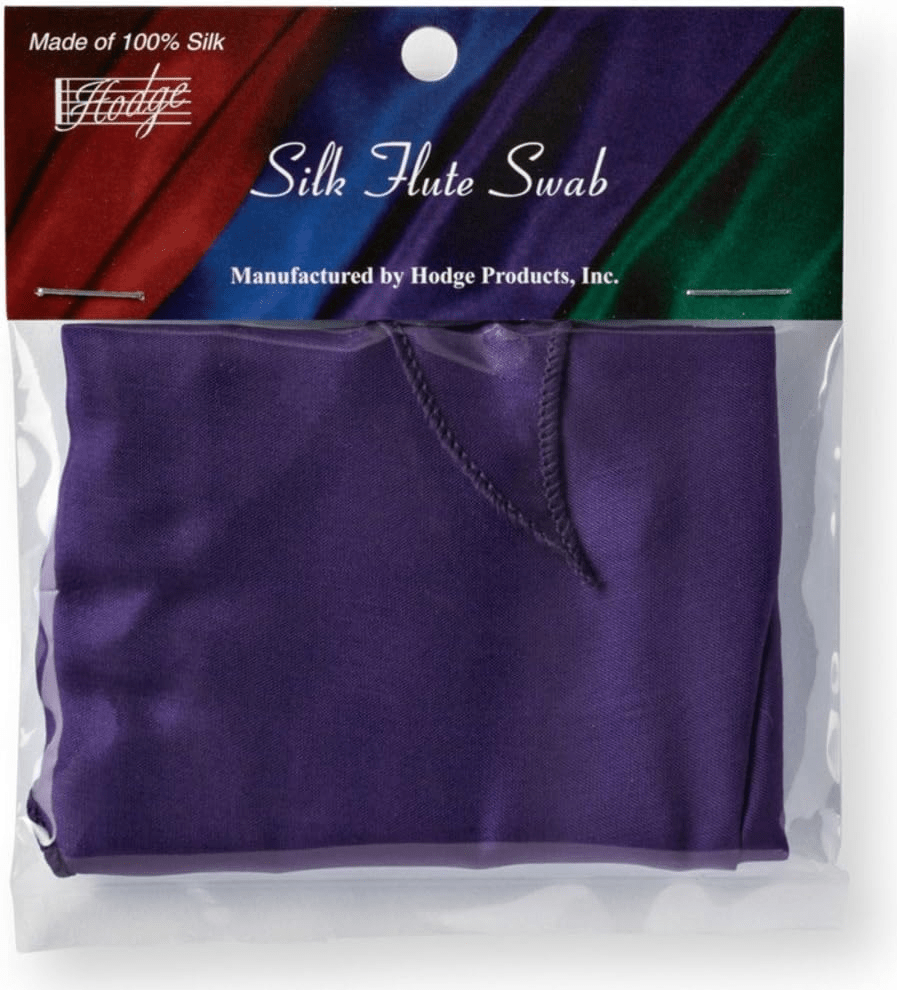
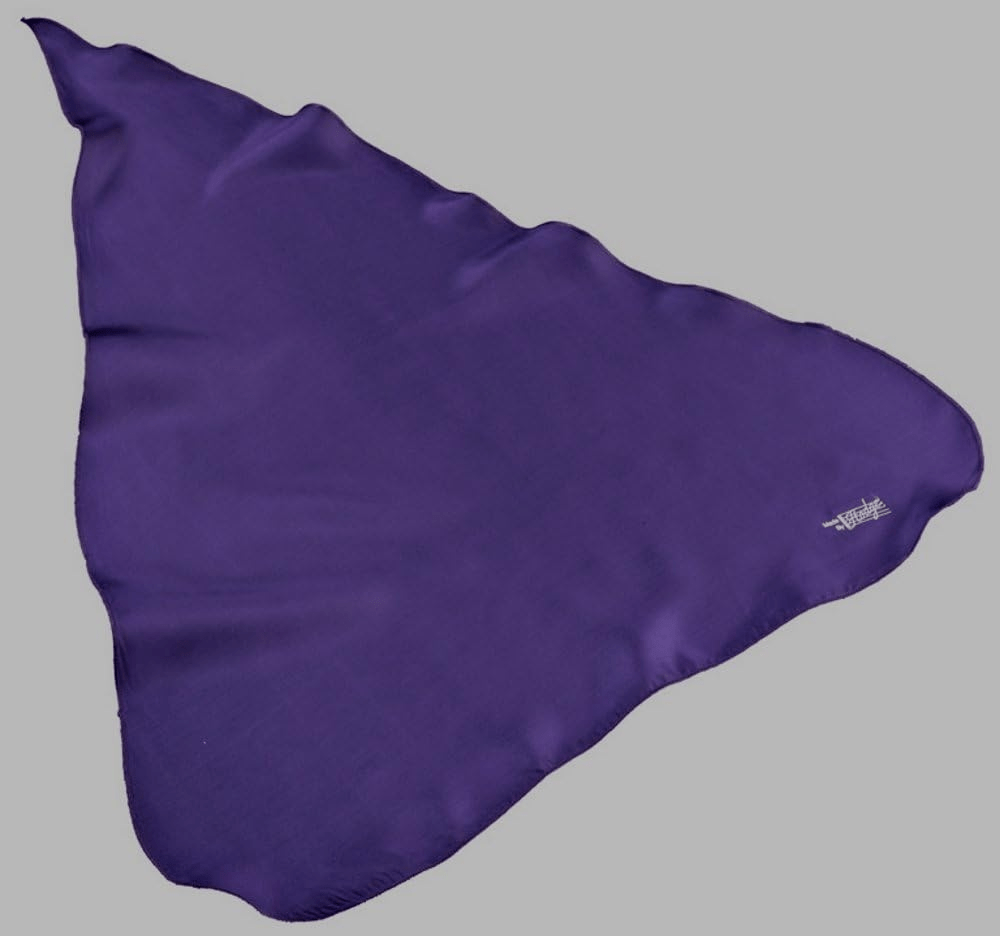
Cloth for the inside: I like the Hodge silk flute swabs.
These silk flute swabs are triangular shaped. If you buy one online, make sure you look at the size. Sometimes they are smaller for a piccolo and not a flute. I also have a soft, absorbing cotton handkerchief that works well. (That’s the blue and white one with the paisley design in the first photo.) I have two cleaning cloths for the inside because sometimes I clean my flute multiple times a day. That way I always have a dry cloth for the inside. They also make bamboo cloths. Some people really like those. I tried one, but prefer my silk and cotton cloths instead.
Cloth for the outside: Do not use a “silver polishing” cloth. Sometimes they have chemicals on them which are great for polishing dishes made of real silver, but can be harmful to the flute pads. If you can feel a strange residue on your hands after holding it, then that’s probably a cloth you don’t want to be using on your flute. Make sure it’s a cloth made specifically for cleaning flutes. These are often made of cotton or microfiber. This is the light blue cloth you see on the right side in the first picture at the top.
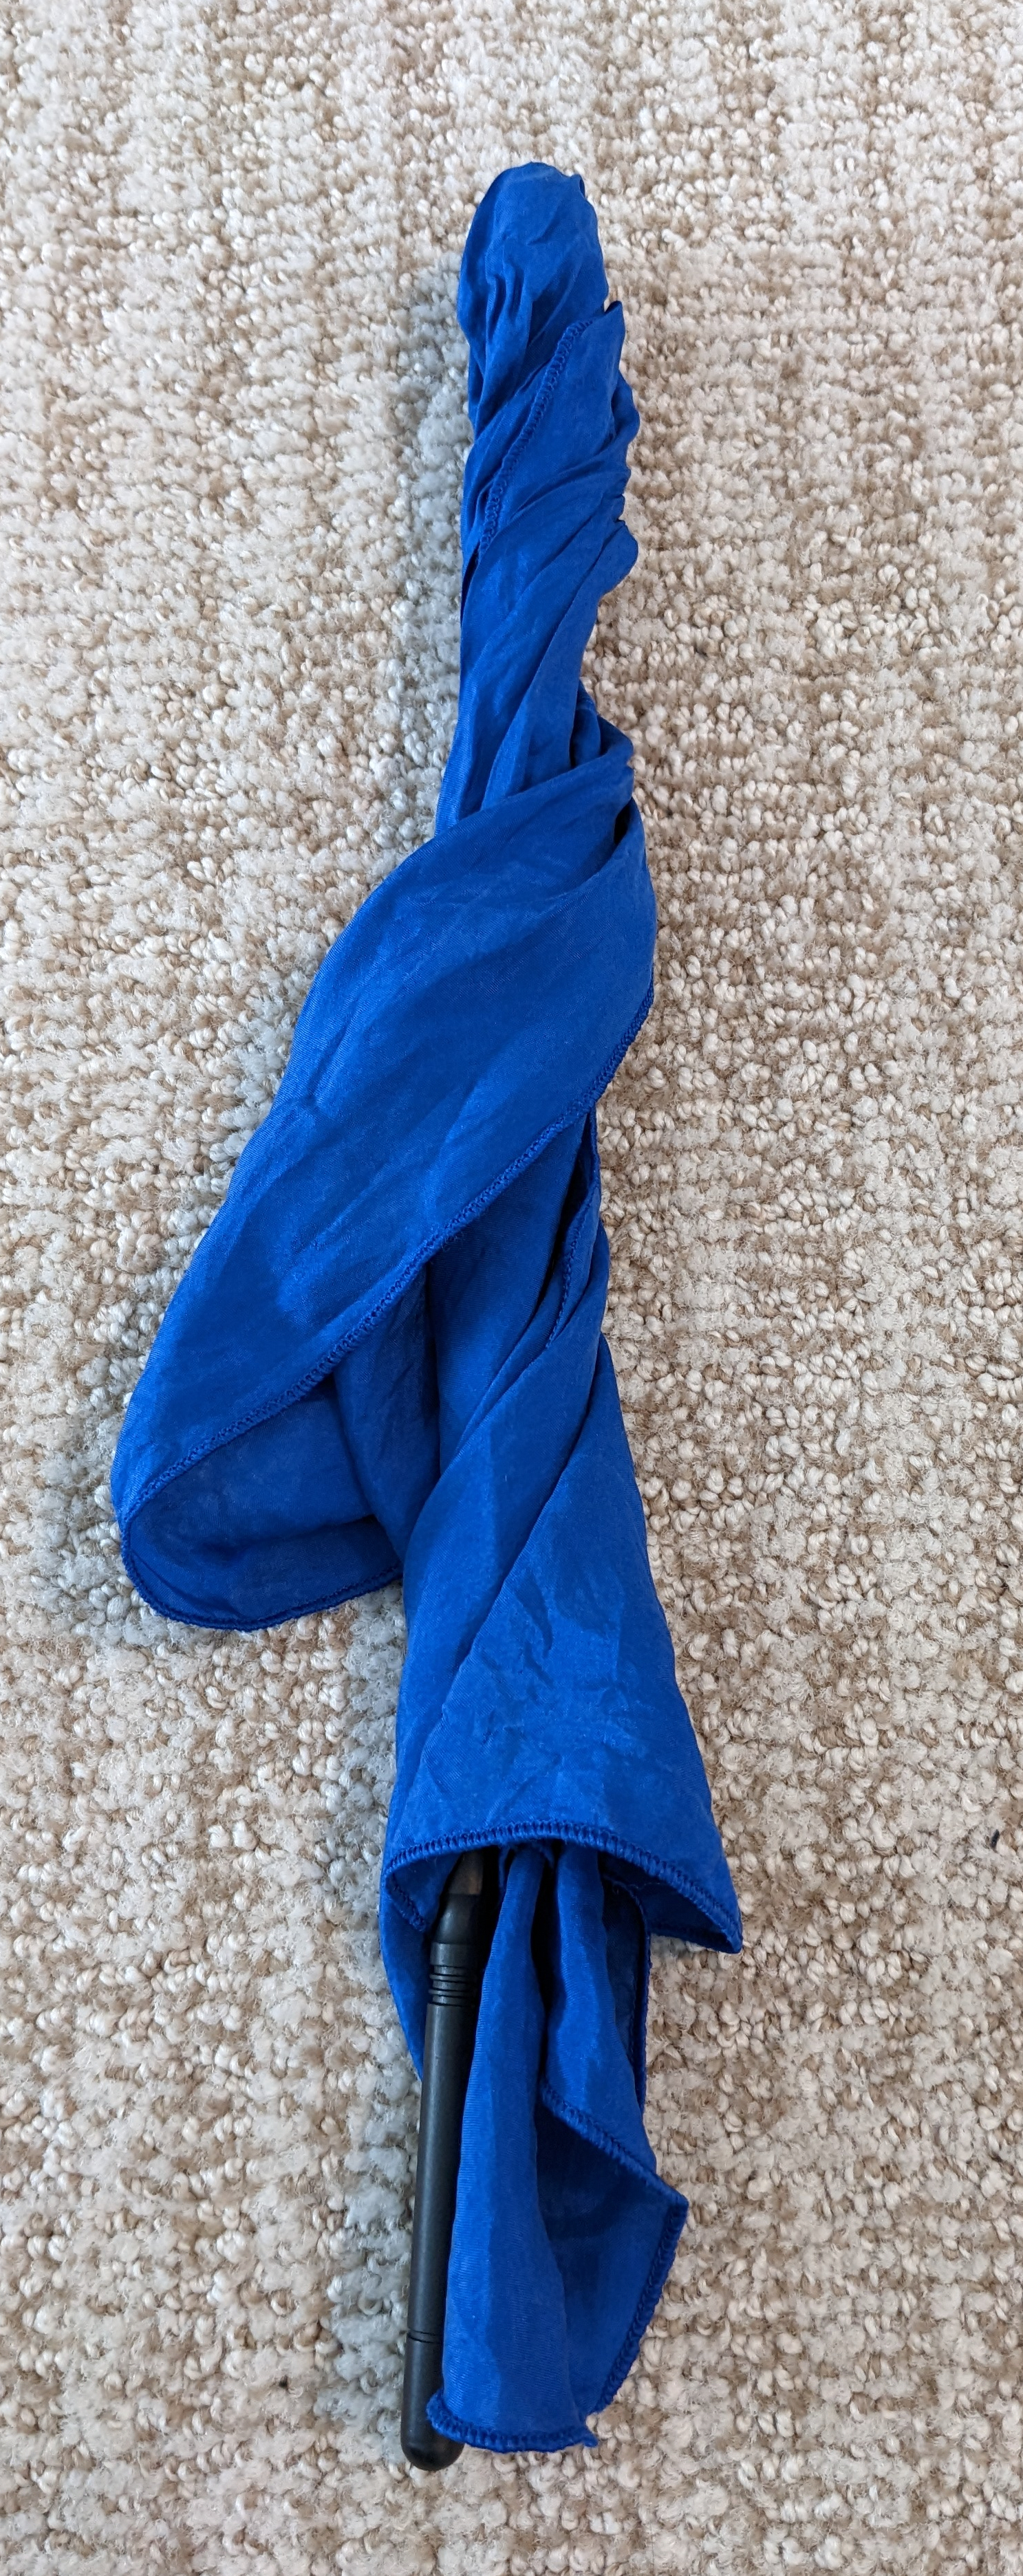
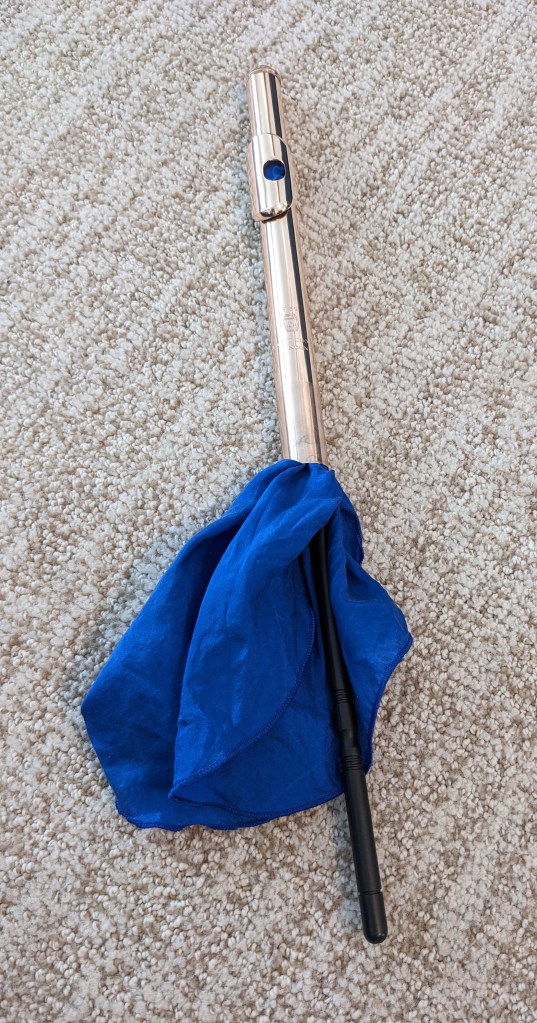
Let’s start: Take your inside cleaning cloth. Loop the smallest end (or corner of the handkerchief if you are using that) through the end of the cleaning rod where it looks like a giant eye of a needle. Wrap your cloth around so the end has a little cushion on top. Twist the rod a few times so the cloth is wrapped around the rod and can swab as much of the flute as possible with one swipe.
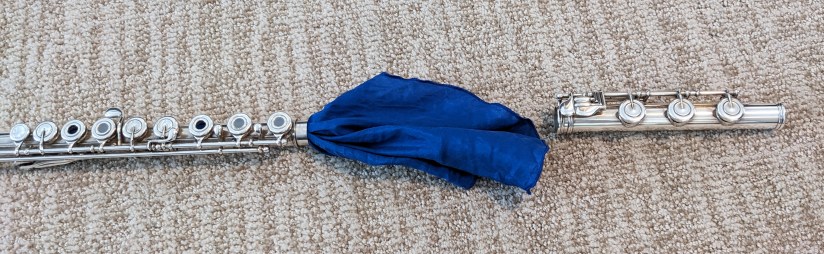
Cleaning the inside: Start pushing it through the end of the footjoint first. The purpose of cleaning the inside is to get the moisture out and there is less moisture at the bottom of the flute, so I always start there and work my way up to the headjoint. Pull your footjoint off and set it in the case. Second, continue to push the cleaning rod up through the body of the flute and out the other end. Third, gently glide it into the headjoint until it hits the silver plate where the cork is. Spin the cleaning rod a couple of times to absorb as much moisture as possible before you pull it out of the headjoint.
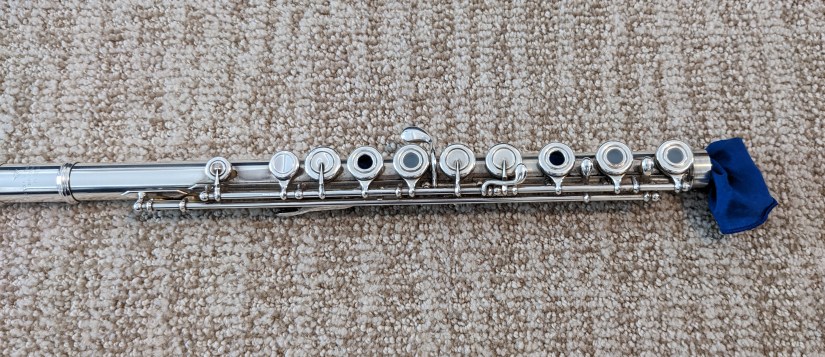
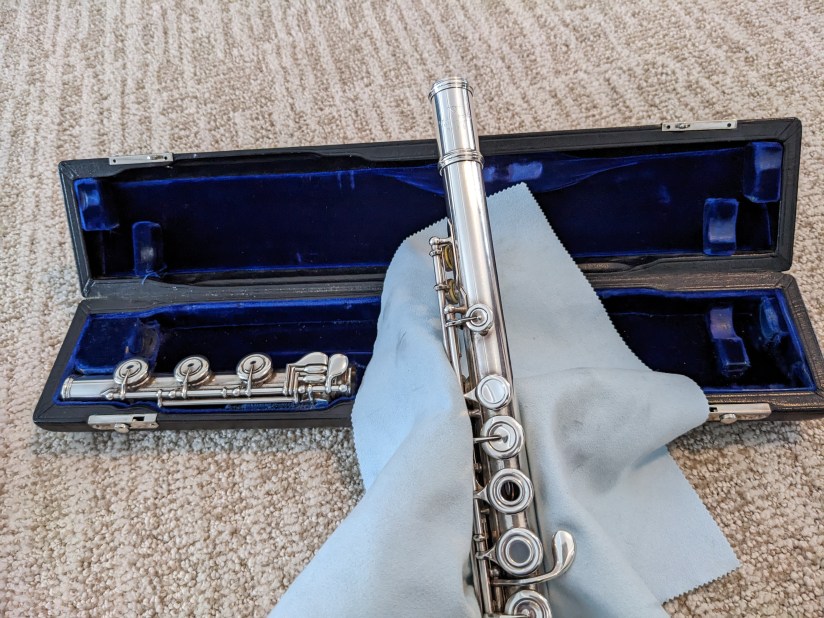
Cleaning the outside: Grab that lovely cloth for the outside. Take each piece of the flute and gently wipe fingerprints and dust off the flute, avoiding the pads as much as possible. Especially make sure the lip plate is nice and clean. Also, clean the joints (tenons) between the pieces of the flute to keep them sliding on and off smoothly. Put each piece back in the case.
Scroll through the slideshow above for a demonstration of how to clean your flute.
Storing the cleaning cloths: You don’t want the wet cloths stored inside with the flute. The moisture is not good for the pads. That’s why we swab the flute in the first place, to remove the moisture. Here you can see how I store them in the zippered part of my case, away from direct contact with my flute. A friend of mine ties her cloth around her outside handle so it can dry quicker.
Then, make sure you throw those cloths in the wash frequently. What is frequently? That’s for you to decide. Depends on how often you play, how long you play, how much condensation you get in your flute, etc. Just wash them frequently. It certainly doesn’t need to be every day. If they start smelling or having lots of black marks on them, it’s probably time for a washing. (Looks like it’s time for my light blue cloth to take a bath again.) Do not tumble dry. Hang dry after washing.
That’s it. Sounds complicated, but with practice you can learn to do it quickly and get in an easy routine. Check back again about other aspects of cleaning your flute.
And, good luck with any spring cleaning projects you may have.