“The longer I live, the more I realize the impact of attitude on life. Attitude, to me, is more important than facts. It is more important than the past, than education, than money, than circumstances, than failures, than successes, than what other people think or say or do. It is more important than appearances, giftedness or skill. It will make or break a company…a church…a home. The remarkable thing is, we have a choice every day regarding the attitude we will embrace for that day. We cannot change the fact that people will act in a certain way. We cannot change the inevitable. The only thing we can do is play on the one string we have, and that is our attitude. I am convicinced that life is 10% what happens to me and 90% how I react to it. And so it is with you. WE ARE IN CHARGE OF OUR ATTITUDES.”
Join us this Wednesday and Thursday, April 12th & 13th, for our Utah Valley Symphony concert. We are presenting Broadway Favorites with selections from Wicked, Hamilton, Phantom of the Opera, Les Miserables, Cats, and more.
We are also performing Gershwin’s Rhapsody in Blue, featuring pianist Sharalyn Heath.
The concert will be conducted by Dr. Blanka Bednarz, internationally acclaimed musician who has recently joined Utah Valley Symphony as Associate Conductor.
It’s sure to be a fun and entertaining evening of music!
Spring is in the air. Well, it’s supposed to be. We’ve had a long winter, keep breaking snow records and have 6 inches of fresh snow today. But it is nice to know that the plants are thinking about starting to bud and gives me hope that we’ll soon see some colors returning to brighten this part of our world.
This week is Spring Break. Time for vacations, time to be outdoors (if it would stop snowing), and time for spring cleaning. I’m not going to post anything about cleaning your house or your garage because there are a million things on the internet to help with that. But how about cleaning your flute?
Again, there are lots of resources out there and I don’t agree with all of them, but I want to add my two cents worth, not that you can buy anthing for two cents anymore, but you get to have my free advice. How’s that?
The most important thing is that you clean your flute regularly. What is regularly? Each time you play.
A picture -or a slideshow- is worth a thousand words.
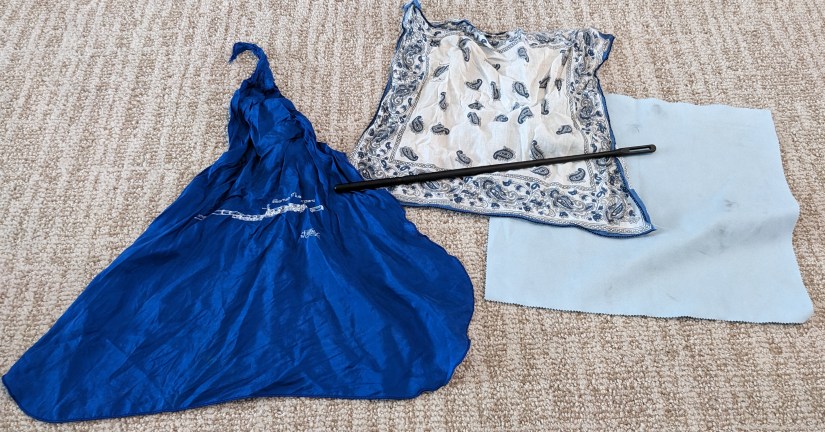
Supplies: You need a cleaning rod, a cloth for the inside, and a different cloth for the outside.
Cleaning rods: I prefer wood or plastic. I used to have a metal one when I was young, but it can scratch your flute, so I recommend a wooden or plastic one. Make sure it’s good and sturdy. Sometimes you can buy cheap ones online, but beware, they can be flimsy. Make sure it’s good and solid and won’t easily bend.
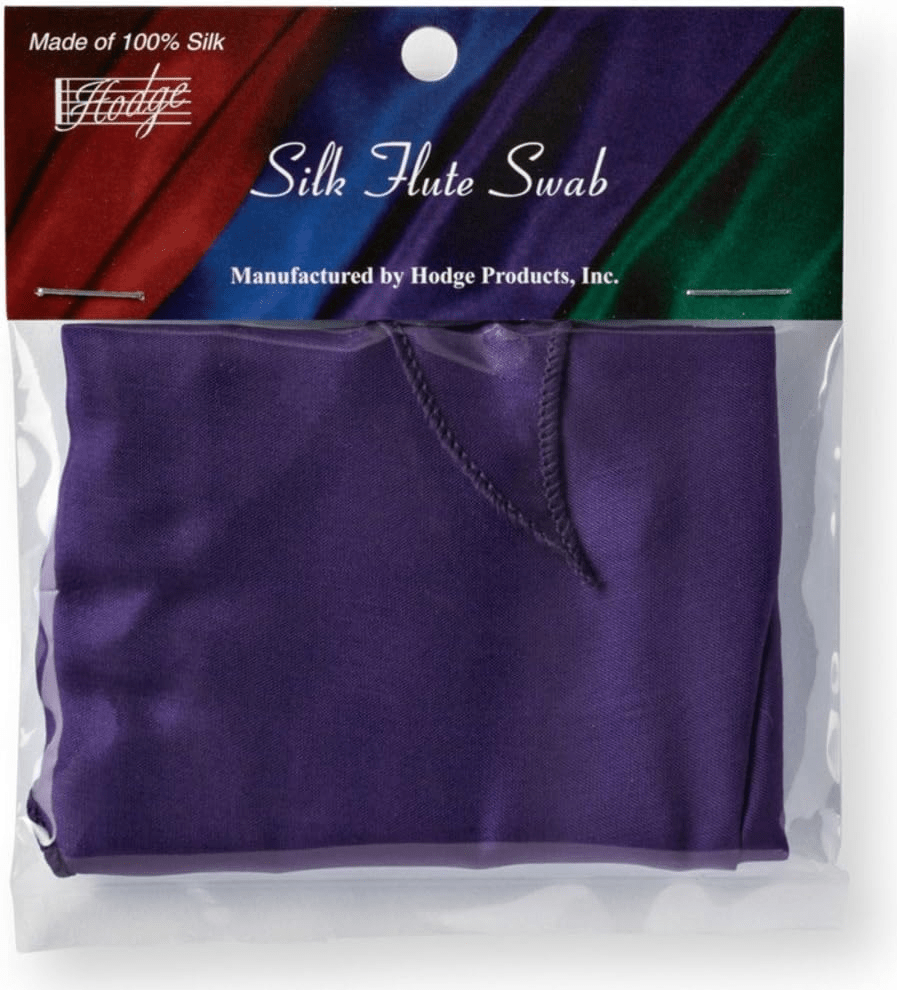
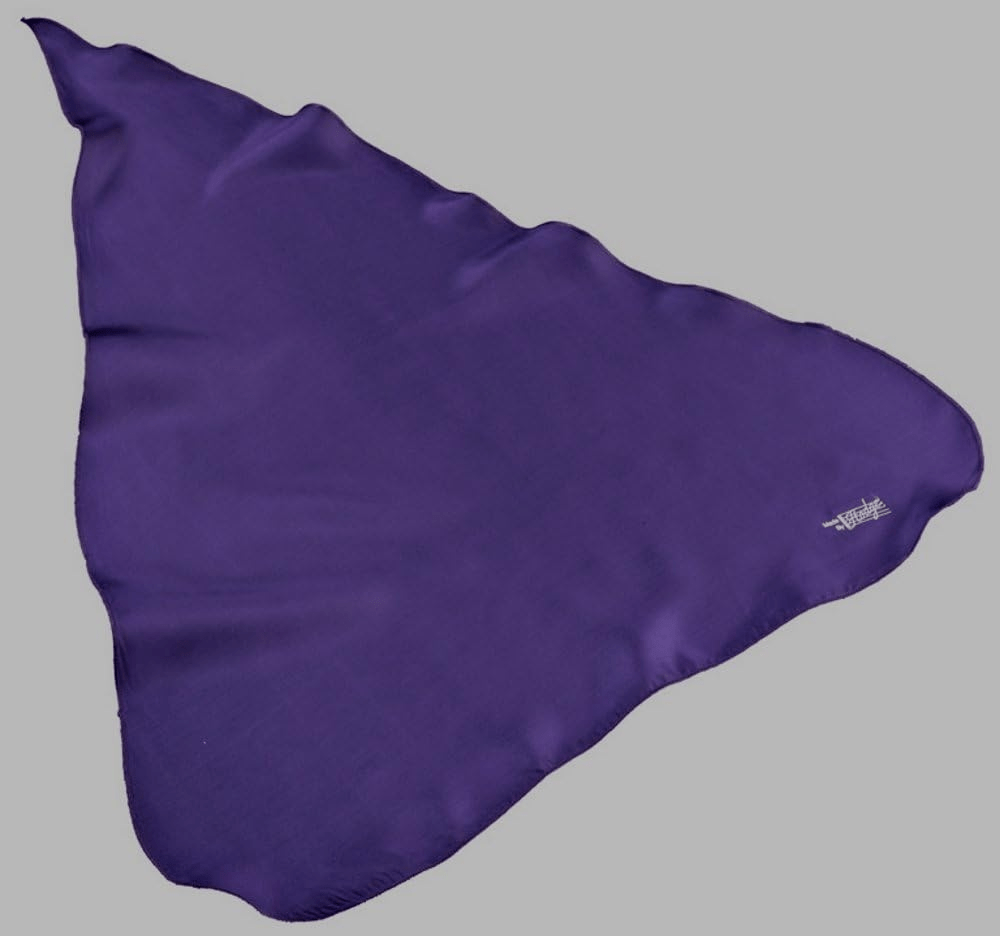
Cloth for the inside: I like the Hodge silk flute swabs.
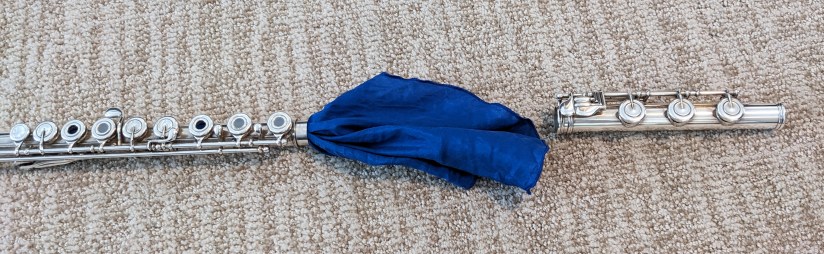
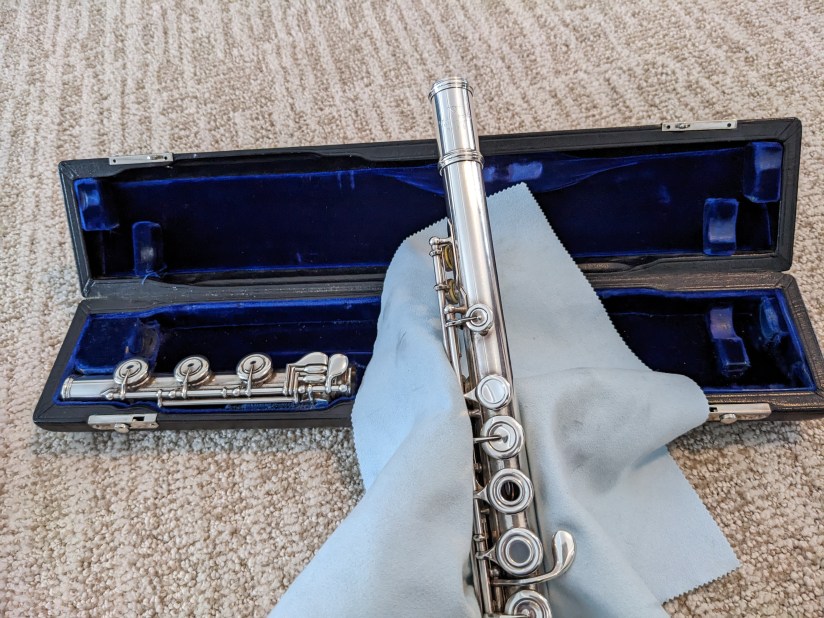
These silk flute swabs are triangular shaped. If you buy one online, make sure you look at the size. Sometimes they are smaller for a piccolo and not a flute. I also have a soft, absorbing cotton handkerchief that works well. (That’s the blue and white one with the paisley design in the first photo.) I have two cleaning cloths for the inside because sometimes I clean my flute multiple times a day. That way I always have a dry cloth for the inside. They also make bamboo cloths. Some people really like those. I tried one, but prefer my silk and cotton cloths instead.
Cloth for the outside: Do not use a “silver polishing” cloth. Sometimes they have chemicals on them which are great for polishing dishes made of real silver, but can be harmful to the flute pads. If you can feel a strange residue on your hands after holding it, then that’s probably a cloth you don’t want to be using on your flute. Make sure it’s a cloth made specifically for cleaning flutes. These are often made of cotton or microfiber. This is the light blue cloth you see on the right side in the first picture at the top.
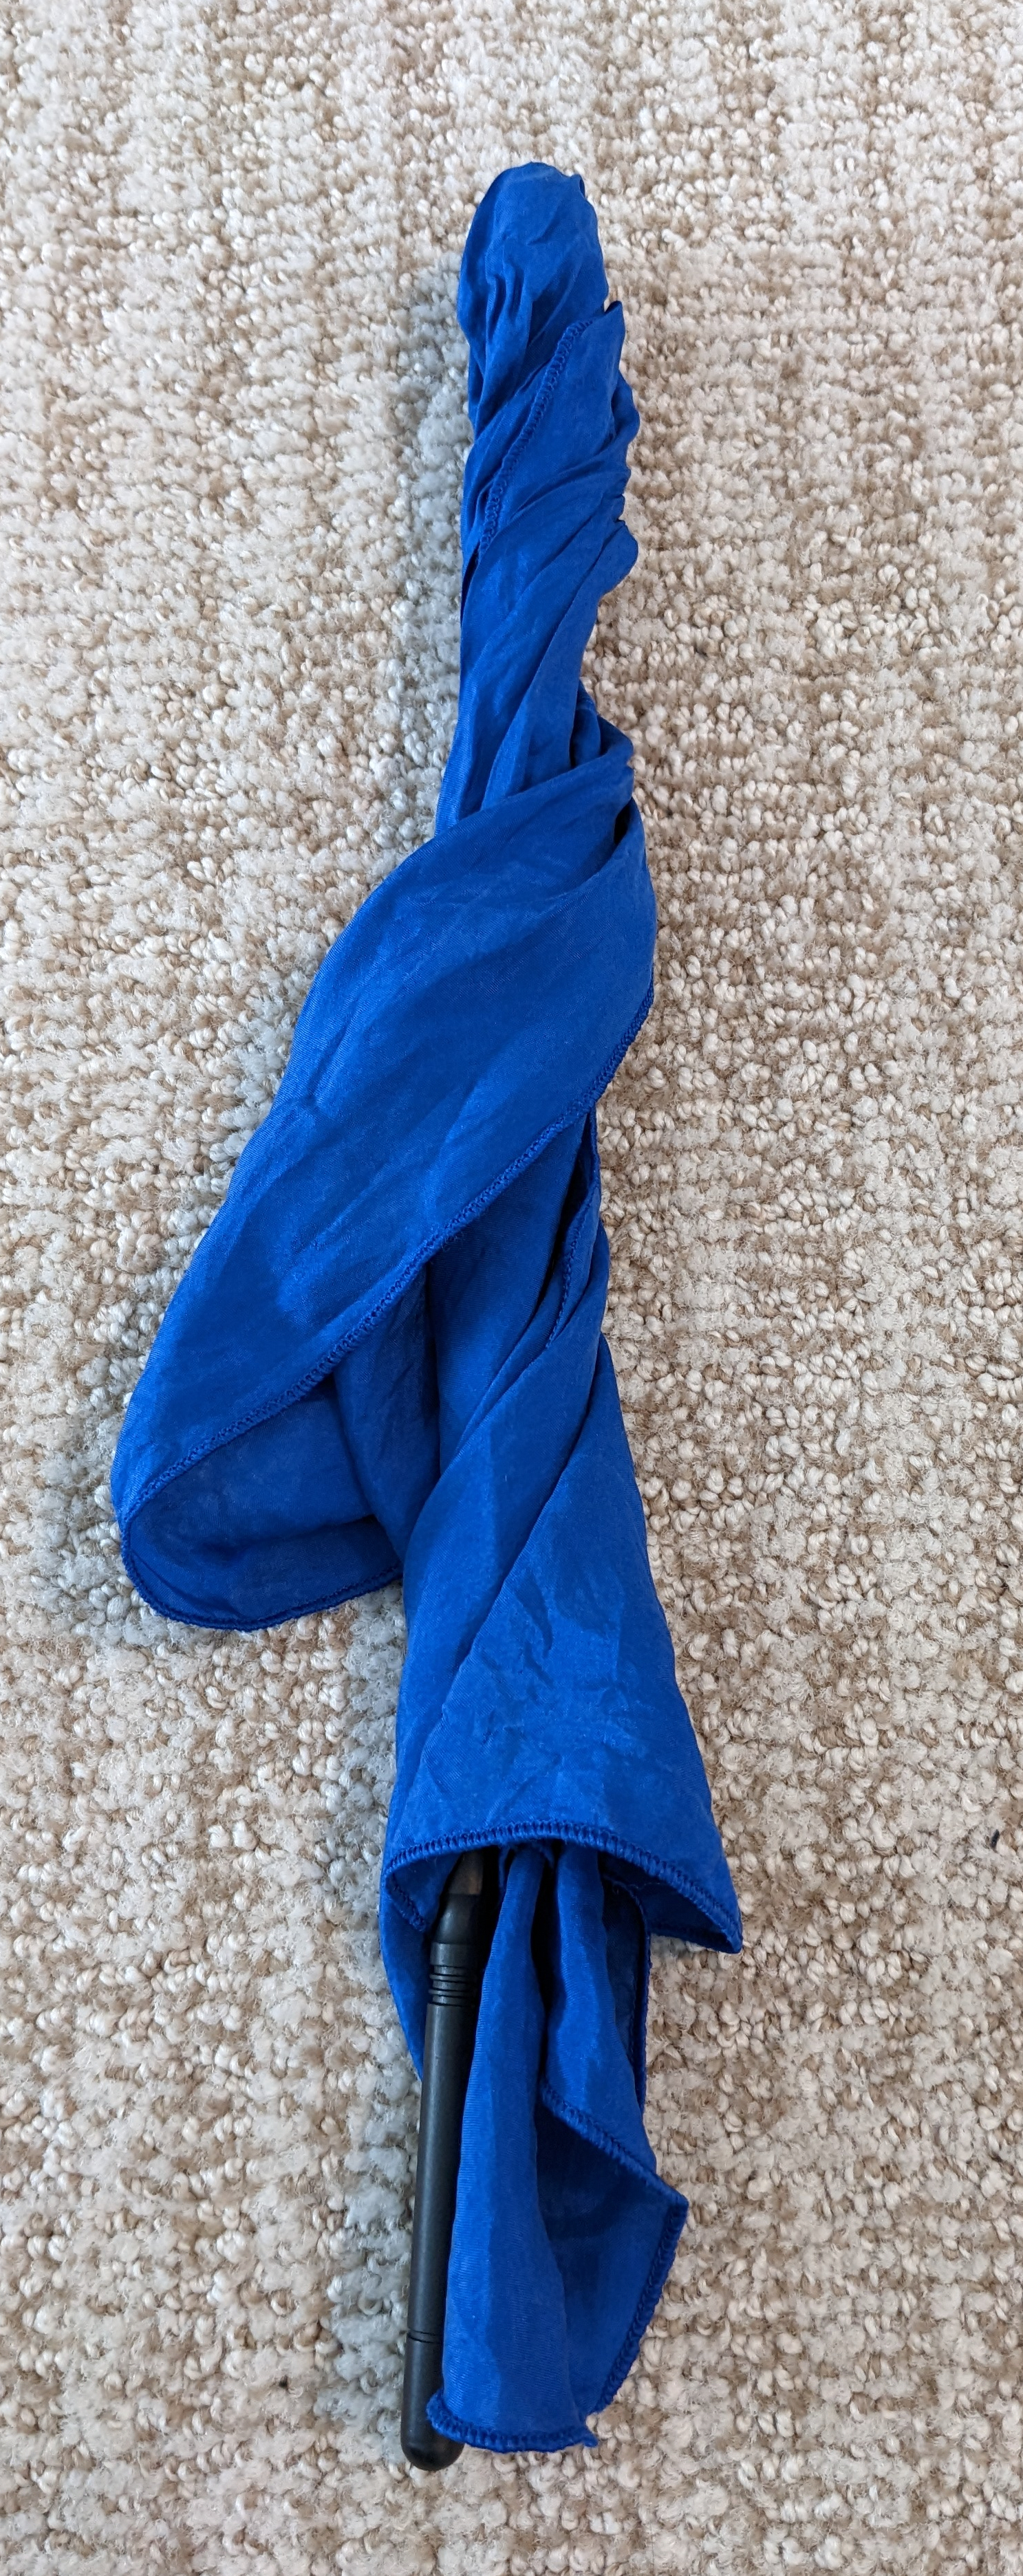
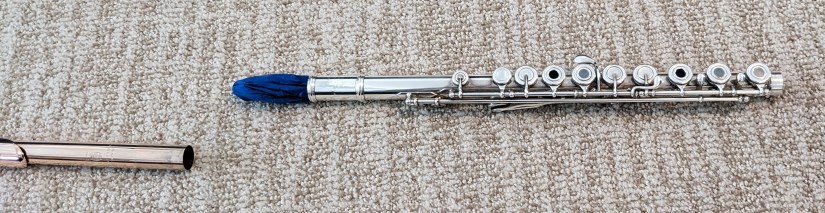
Let’s start: Take your inside cleaning cloth. Loop the smallest end (or corner of the handkerchief if you are using that) through the end of the cleaning rod where it looks like a giant eye of a needle. Wrap your cloth around so the end has a little cushion on top. Twist the rod a few times so the cloth is wrapped around the rod and can swab as much of the flute as possible with one swipe.
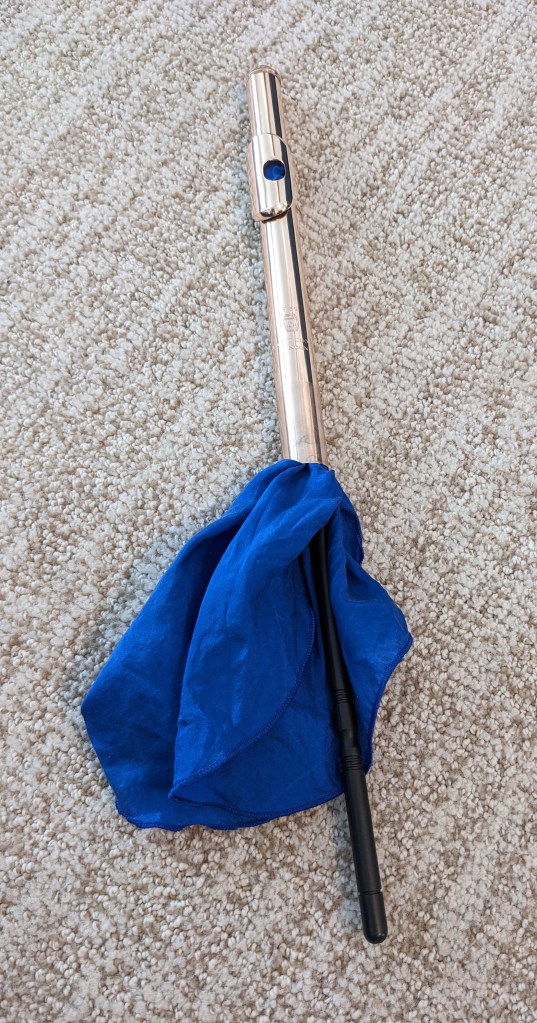
Cleaning the inside: Start pushing it through the end of the footjoint first. The purpose of cleaning the inside is to get the moisture out and there is less moisture at the bottom of the flute, so I always start there and work my way up to the headjoint. Pull your footjoint off and set it in the case. Second, continue to push the cleaning rod up through the body of the flute and out the other end. Third, gently glide it into the headjoint until it hits the silver plate where the cork is. Spin the cleaning rod a couple of times to absorb as much moisture as possible before you pull it out of the headjoint.
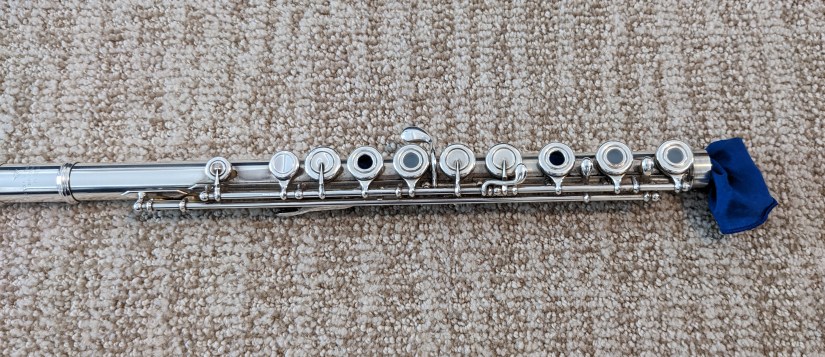
Cleaning the outside: Grab that lovely cloth for the outside. Take each piece of the flute and gently wipe fingerprints and dust off the flute, avoiding the pads as much as possible. Especially make sure the lip plate is nice and clean. Also, clean the joints (tenons) between the pieces of the flute to keep them sliding on and off smoothly. Put each piece back in the case.
Scroll through the slideshow above for a demonstration of how to clean your flute.
Storing the cleaning cloths: You don’t want the wet cloths stored inside with the flute. The moisture is not good for the pads. That’s why we swab the flute in the first place, to remove the moisture. Here you can see how I store them in the zippered part of my case, away from direct contact with my flute. A friend of mine ties her cloth around her outside handle so it can dry quicker.
Then, make sure you throw those cloths in the wash frequently. What is frequently? That’s for you to decide. Depends on how often you play, how long you play, how much condensation you get in your flute, etc. Just wash them frequently. It certainly doesn’t need to be every day. If they start smelling or having lots of black marks on them, it’s probably time for a washing. (Looks like it’s time for my light blue cloth to take a bath again.) Do not tumble dry. Hang dry after washing.
That’s it. Sounds complicated, but with practice you can learn to do it quickly and get in an easy routine. Check back again about other aspects of cleaning your flute.
And, good luck with any spring cleaning projects you may have.
I love how this picture shows the division of the ocean, the waves, and the beach. Yet, at the same time, they also blend seamlessly into each other. This portrays perfectly how you should divide your practice time as a flute player. I call it the Law of Thirds. For example, if you practice for an hour a day, spend 20 minutes on tone and technique, 20 minutes on etudes, and 20 minutes on solos.
Tone Exercises: De la Sonorite by Marcel Moyse is the universal tone exercise. In addition to that, harmonics are helpful and many other tone books such as the Trevor Wye books and other exercises are available. In fact, you can even make up your own exercises. The important thing is that you spend time playing slowly and take the time to listen. Save the fast finger work for later. I once heard that Moyse said he never played above a B before breakfast.
Technique: Piano players have Hanon exercises. Flute players have the Taffanel and Gaubert 17 Daily Exercises for Flute which is a vast collection of scales, 3rds, 6ths, and arpeggios. It is essential to any flute players development to spend a lot of time with these exercises. One of my teachers shared a true story of a friend of his who was part of a professional symphony orchestra. While staying in a hotel one night while the orchestra was on tour, what do you think the principal oboe player was practicing? You guessed it…scales. It is one of the foundations of music and critical for any musician at any level.
Etudes: I have a file cabinet drawer (technically, more than one drawer) full of various etude and method books complete with Altes, Andersen, Berbiguier, Casterade, Gariboldi, Jean-Jean, Kohler, and more. Students that spend diligent time doing etudes have better technique and learn how to phrase. Etudes help improve finger coordination which strengthens technique, provides opportunities to expand your breath control and vibrato, teach you how to play with dynamics, help strengthen tonguing, and improves sight reading abilities. They are another critical foundation block for any flute player at any level.
Solos: If you are preparing for an audition, festival, or recital, you already have your work cut out for you. If not, it’s nice to have two solos to be working on. Perhaps contrasting in style, such as one slow and one fast or one in the baroque style and one in the romantic style. The goal is to have a well rounded feel for different types of solos out there. I’ll be eternally grateful for my teachers, especially Dr. Ted Wight, who did an incredible job of introducing me to the world of flute repertoire!
If you are not currently studying with a private flute teacher, you can still explore solos. A simple way is to visit www.flutetunes.com where they post “A New Score a Day” and you have access to free flute music in a variety of styles. They also have links to scales and arpeggios. With access to the internet these days, you can easily find free music sites and others to purchase more music than you could ever imagine.
I fully believe that incorporating tone, technique, etudes, and solos equally into your practice time create the balance you need to become a strong, well rounded flute player. If you only play solos, you are missing out on a lot and I guarantee that you will be lacking in other areas. I challenge you to make it a habit to divide your practice time using all of these critical elements.
Brilliant young artists will join the Utah Valley Symphony in concert Wed & Thurs, Feb 23rd & 24th. The soloists will perform works by Rachmaninoff, Handel, Saint- Saëns, Beethoven, and more.
The symphony will also perform Dvořák’s Carnival Overture and The Moldau by Smetena. Great flute parts!